
Company Setup
Create and configure your company profile, logo, and public page.
Create Your Company
Before you can register products or issue verification records, you need to create a company. Each company acts as an independent workspace with its own products, team members, and billing settings.
- 1
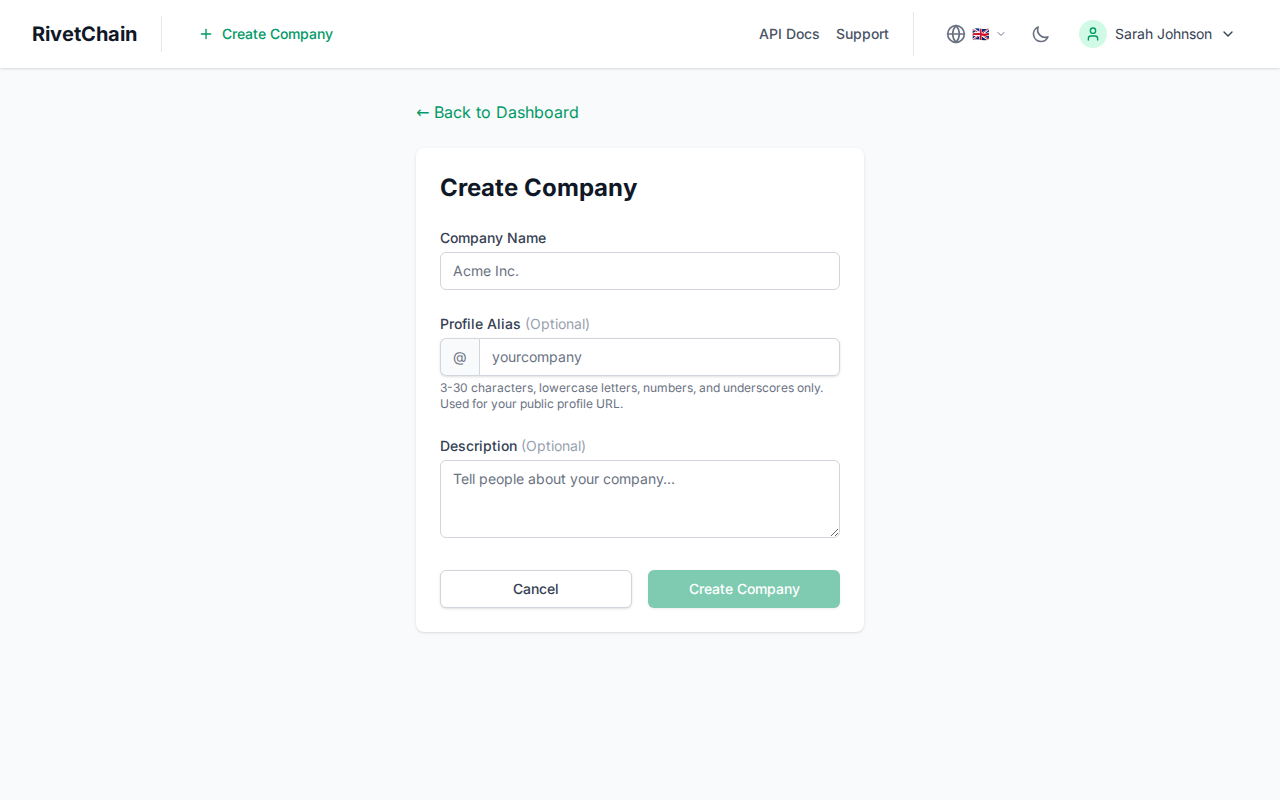
Open the company creation page
From your dashboard, click the "Create Company" button. You will be taken to a form where you can enter your company details.
- 2
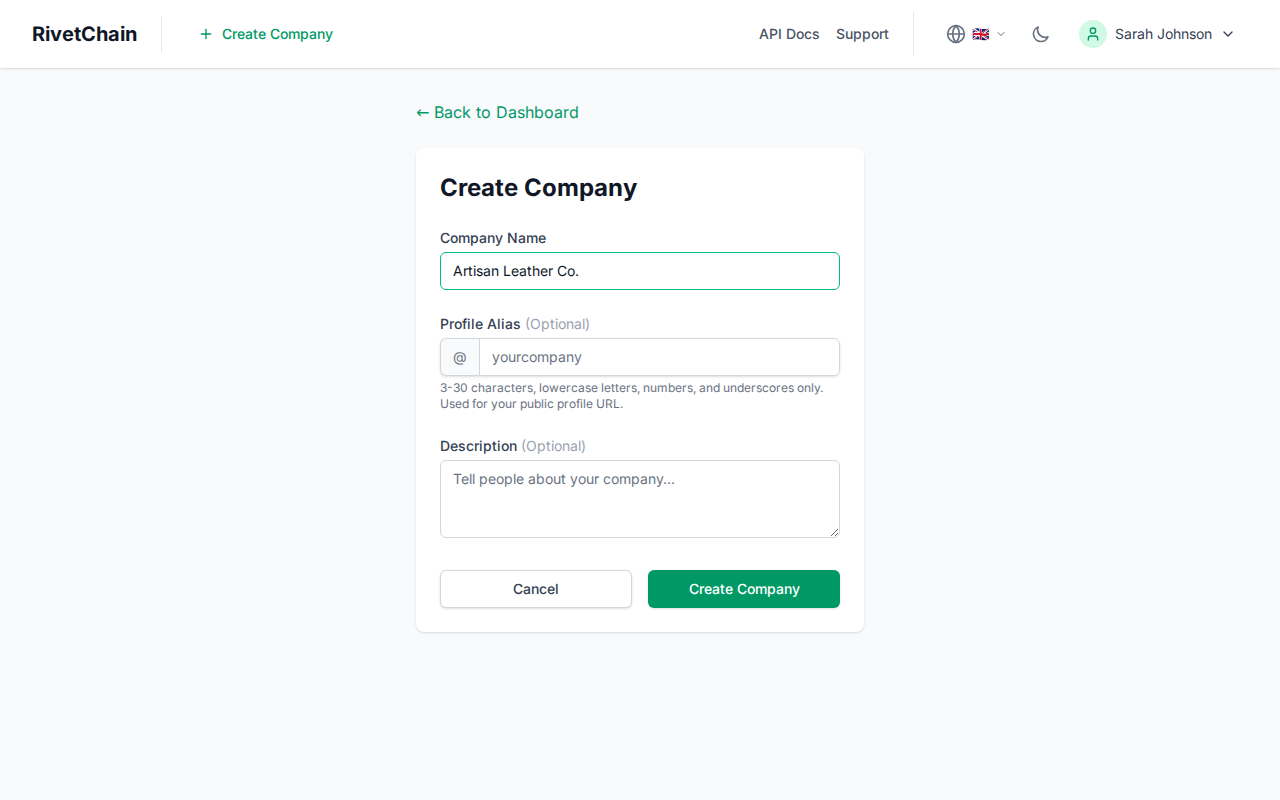
Fill in your company information
Enter your company name and any other required details. The company name will appear on your public verification pages and in all records associated with your products.
- 3
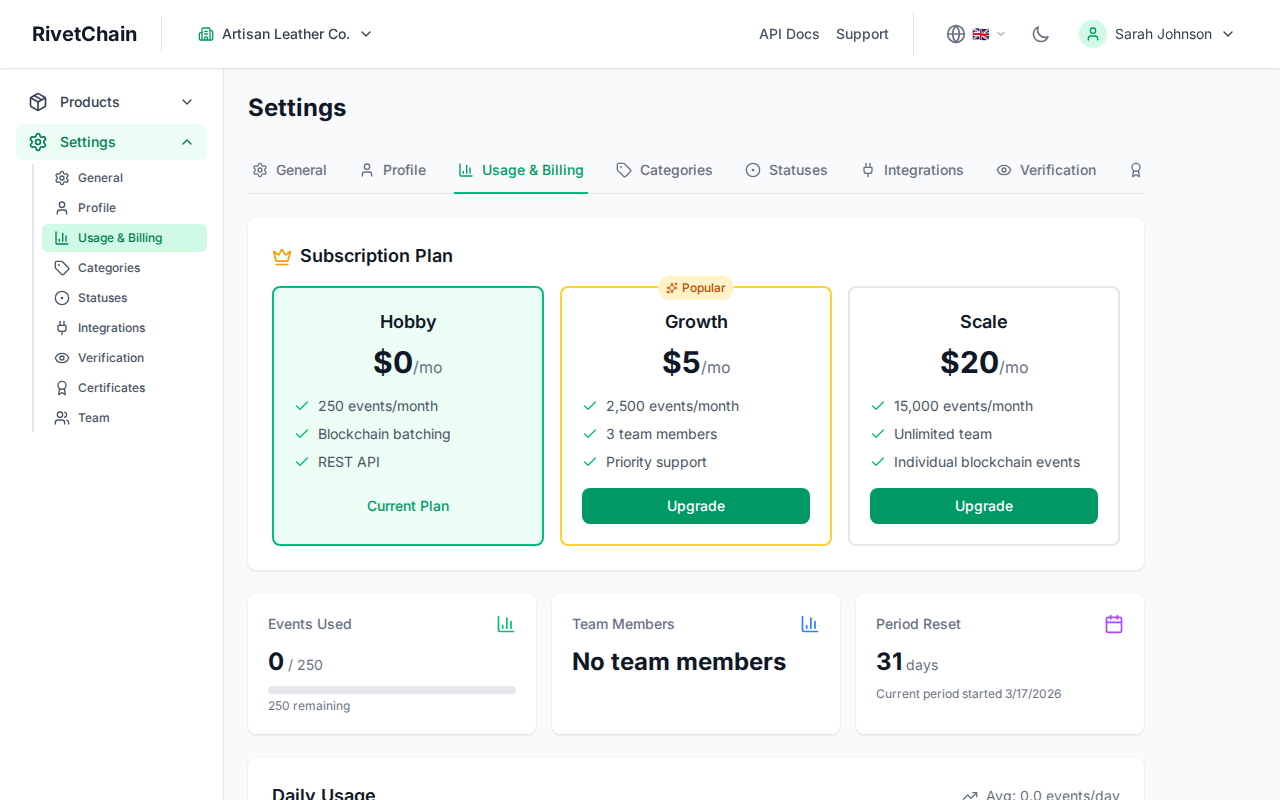
View your company dashboard
After creating your company, you will be redirected to the company dashboard. This is where you manage all aspects of your organization, including products, series, and team members.
Configure Your Company Profile
A well-configured company profile builds trust with your customers. Your profile information appears on public verification pages when customers verify the authenticity of your products.
- 1
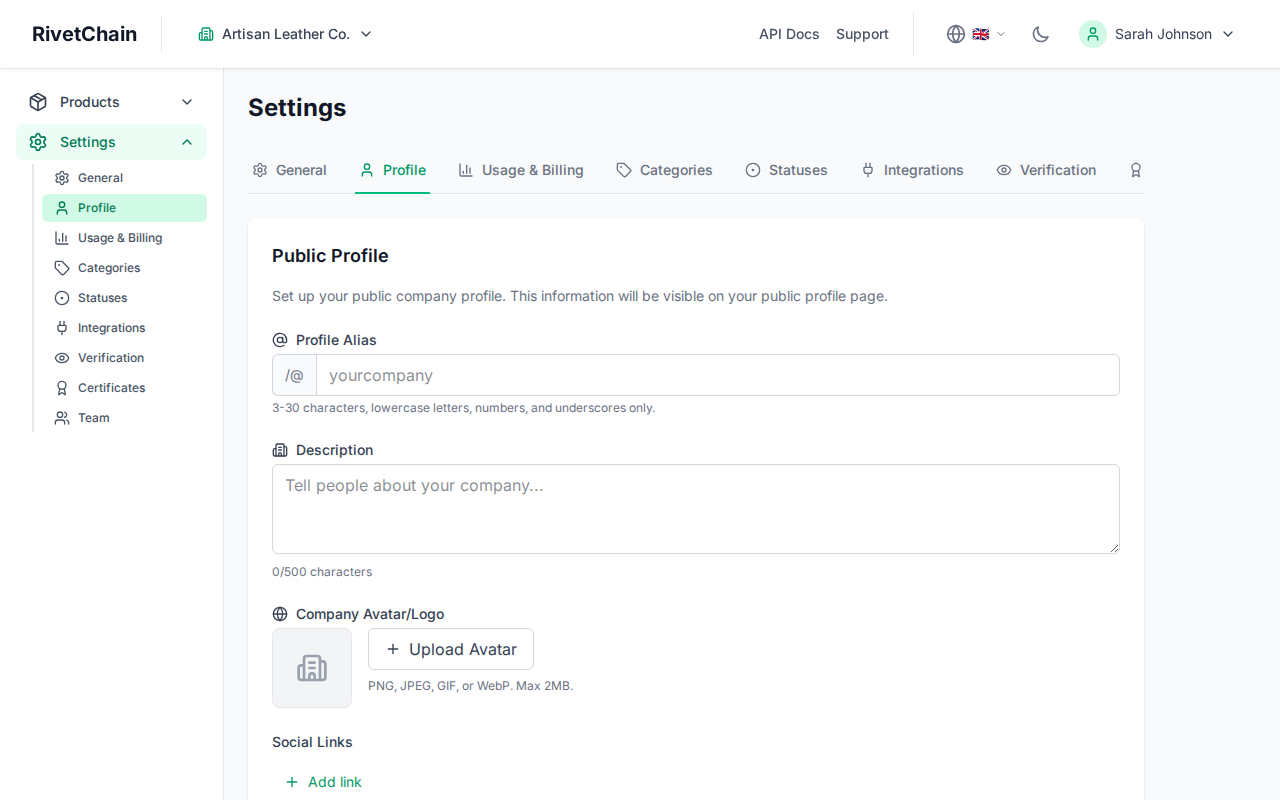
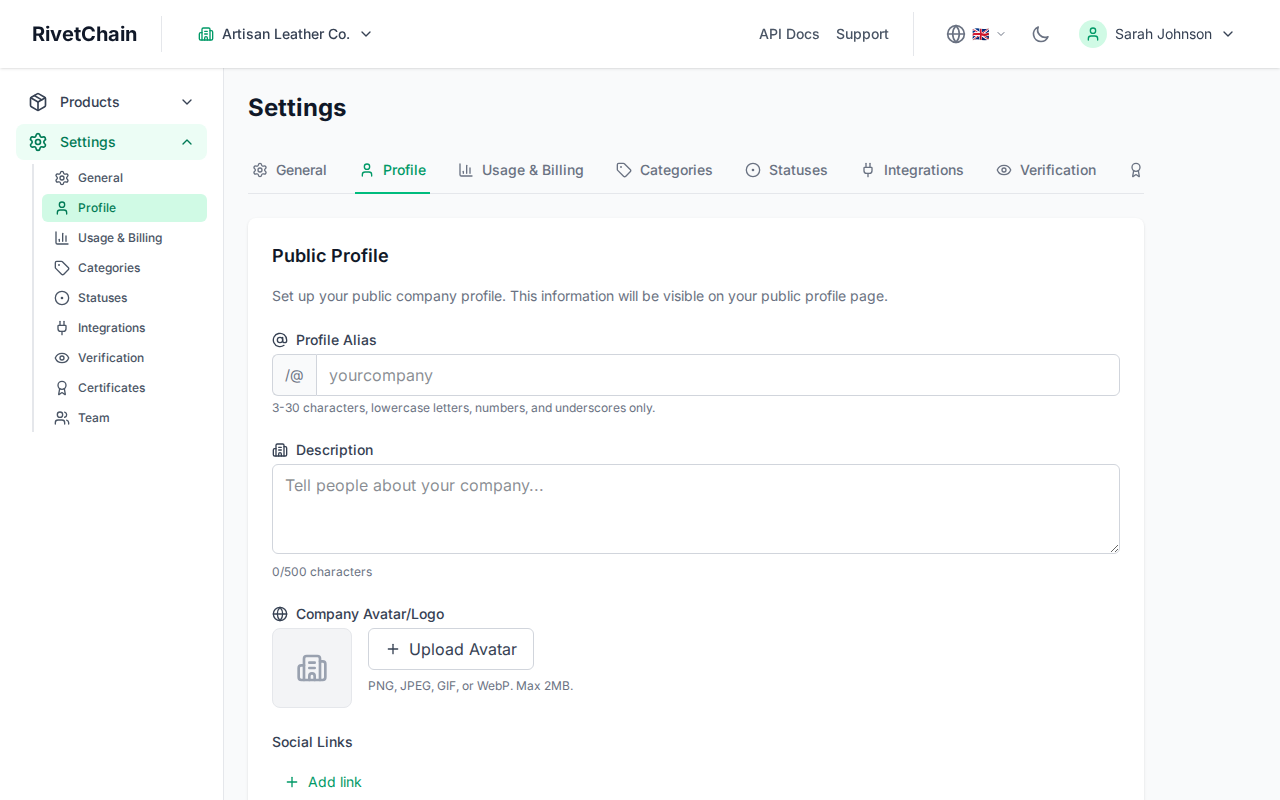
Navigate to the Profile tab
In your company settings, click on the "Profile" tab. Here you can update your company alias, description, avatar, and social media links.
- 2
Complete your profile details
Fill in your company description, upload a logo or avatar, and add links to your website and social media accounts. The alias field determines your public URL path. All of these details are visible to customers who verify your products.
Public Company Page
Every company on VeriFined gets a public page that showcases your verified products. Customers who scan a QR code or follow a verification link will see your company branding, logo, and description alongside the product details. A complete profile with a logo and description helps establish credibility and makes the verification experience more professional.